Offgrid Survival Water Purification: Common Contaminants and Methods to Eliminate Them
In This Article
DISCLAIMER: This is a general overview and not a comprehensive guide to all waterborne contaminants and water purification methods. If you’re unsure if a source of water is safe, be sure to purify it thoroughly before using it for drinking, cooking, or cleaning.
Photos By: Amy Alton
Water. The source of all life, there’s no animal that isn’t composed partly of it. The microscopic tardigrade, also known as a “water bear,” can drop its moisture content to less than 1 percent of normal, but still harbors about 3 percent at its driest. Humans, however, are about 60 percent water and don’t have the ability to survive without fresh water for more than about three days.
In normal times, those who receive a water bill from their town or city are purchasing it from a system where the water is tested, and one that must prove to the Environmental Protection Agency (EPA) that it meets National Primary Drinking Standards. An annual water quality report is compiled and available through the water company with information about contaminants that have possible health effects. Having said that, germs and chemicals can get into the water, either at its source, through the distribution system, or even after leaving water treatment facilities. The Flint, Michigan, water crisis is one of the most infamous examples of this in recent history. The city’s drinking water was contaminated with harmful levels of lead, and studies also found evidence that an outbreak of Legionnaire’s disease (caused by waterborne bacteria) may have been linked to the municipal water supply.
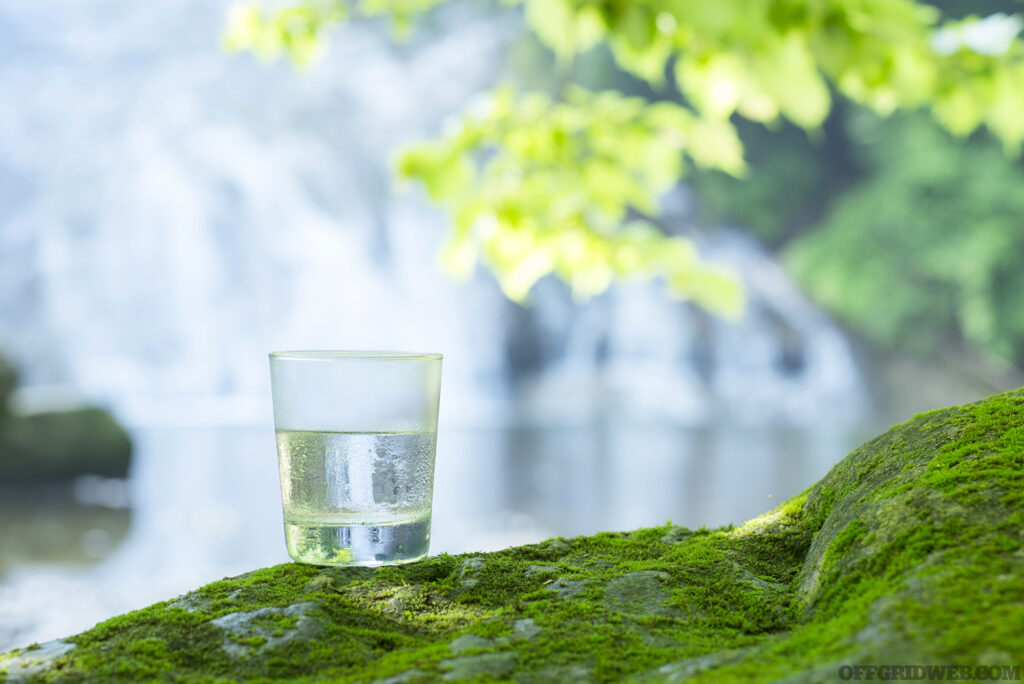
Above: Clean drinking water is something we take for granted in modern society.
If water is taken from the wrong source, it can result in miserable illness or even death. The challenge is to find safe drinkable (potable) water or, at least, to have the materials and knowledge to make it safe to drink.
Harmful microorganisms or toxic chemicals can get in the water from many sources, including:
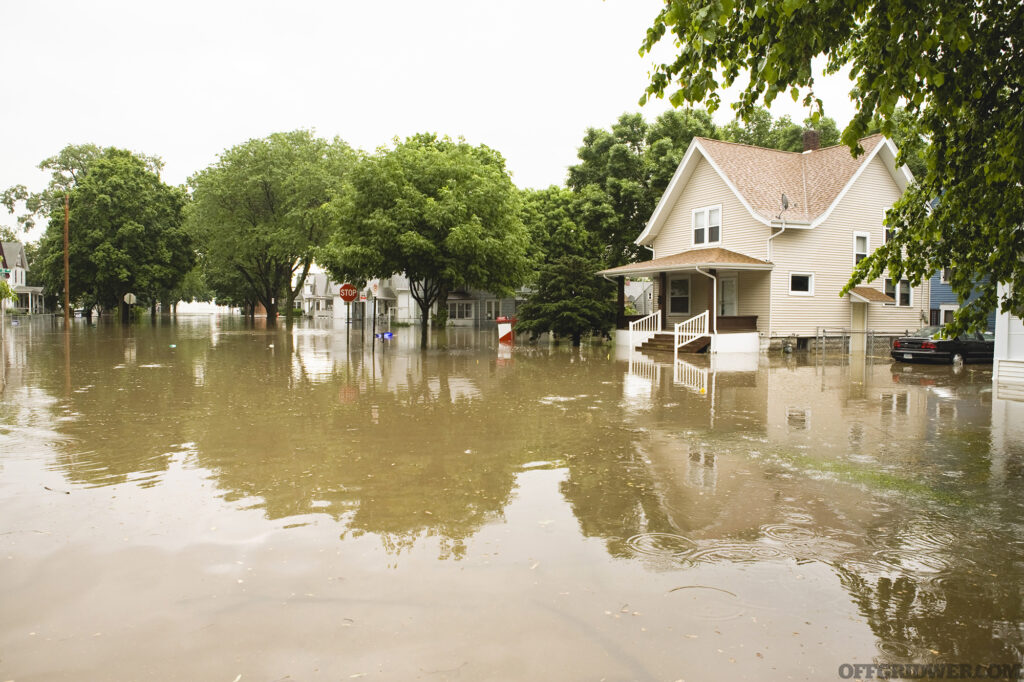
Above: Flood waters aren’t safe to drink, as they often contain sewage and chemical runoff.
It’s not always obvious that water, even from the tap, is safe to drink. Some signs that should warn you of questionable water is if it’s:
Cloudy – Turbidity, or cloudiness, could signal the presence of disease-causing microbes.
Slimy – Hard water can cause your hands to feel slimy when touching it. This doesn’t have to mean danger but could indicate the presence of lead or other toxic metals.
Discolored – Brown or other colored water may signify the presence of microbes or toxins like copper, iron, or lead. It could also indicate tannins. Tannins are natural organic matter that can result from water passing through decaying vegetation. In small concentrations, they aren’t dangerous, but can cause a number of problems if present in excess.
Smelly – Water that smells bad could harbor disease-causing organisms or toxins like barium or cadmium. Odors like rotten eggs may indicate the presence of hydrogen sulfide. When exposed to certain bacteria, it converts into sulfate, which can cause dehydration or diarrhea.
A high level of suspicion is wise with just about any new water source. Even the clearest mountain stream may harbor giardia, a parasite that causes diarrhea and dehydration. Better safe than sorry.
If you lose access to municipal drinking water, you can still count certain sources in the home as generally safe:
Water from swimming pools and spas can be used for hygiene purposes, but not for drinking. Also, never use water from radiator tanks or boilers that are part of your home heating system. They are different from your water heater for faucets and showers and not safe to drink.
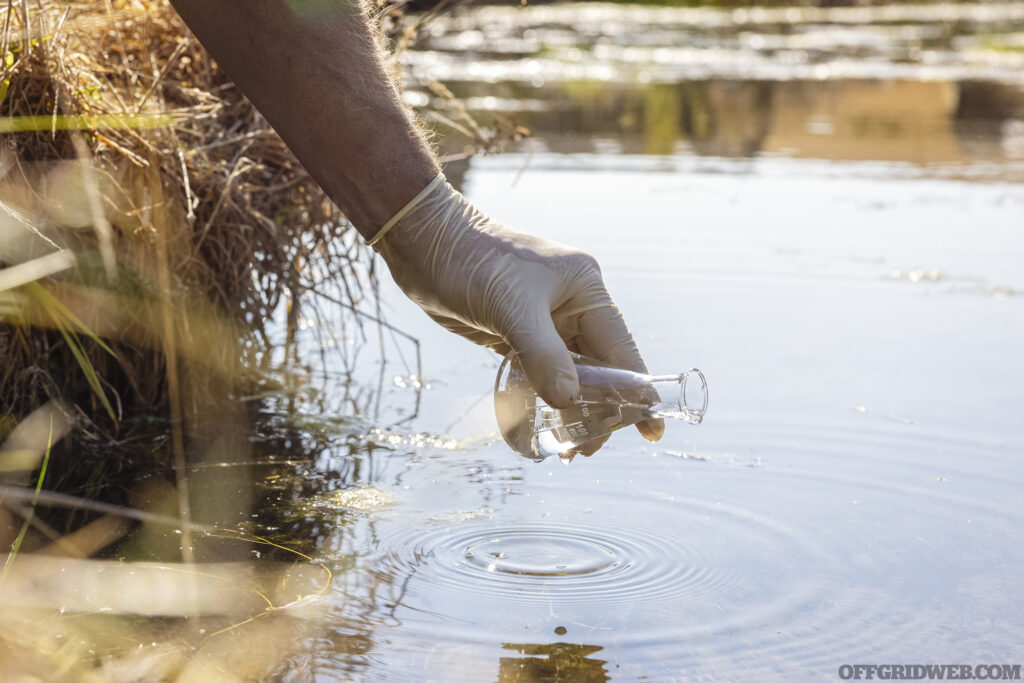
Above: Water supplies are tested to see if they meet National Primary Drinking Standards.
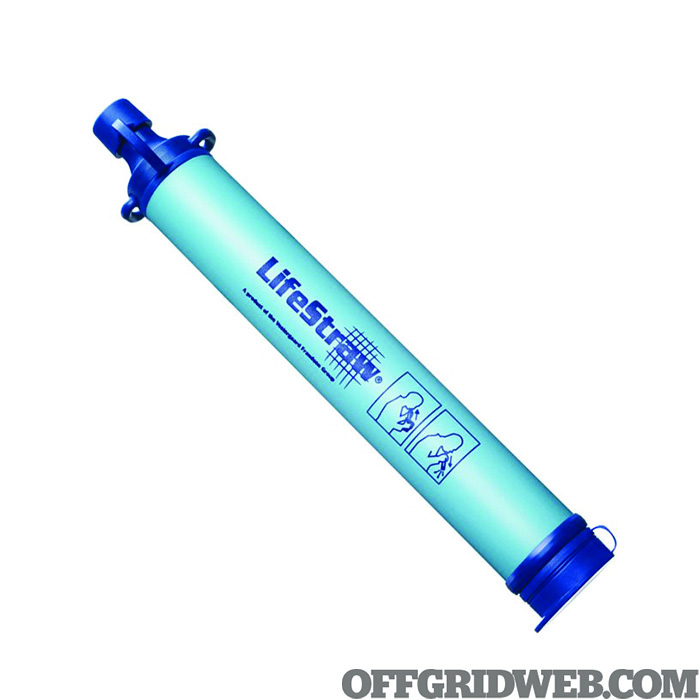
Above: The Lifestraw, a compact, lightweight commercial water filter.
If you suspect that the water quality is questionable, there are simple ways to help make it safe to drink. Boiling is perhaps the most well-known and eliminates bacteria, viruses, and parasites. Simply take a container, fill it with water, and get it to a rolling boil for one full minute. For altitudes over 6,500 feet, boil for three full minutes. Why? As altitude increases, the atmospheric pressure decreases as does the boiling point of water. To compensate for the lower boiling point, the boiling time must be increased.
Boiling takes fuel, so you might consider, instead, chemical disinfection to get rid of bacteria and viruses. This is most easily accomplished with 5 to 9 percent sodium hypochlorite (unscented household bleach). Use eight drops of bleach per gallon, but 16 drops if the water is cloudy. Mix the bleach into the water thoroughly, and let it stand for 30 minutes before consuming. Other chemicals such as iodine or chlorine dioxide will work as well after a period of waiting. Be aware that old bleach (older than six months) loses potency.
For storage purposes, calcium hypochlorite may be an improvement on household bleach. A 1-pound package of calcium hypochlorite in granular form can treat up to 10,000 gallons of drinking water. It destroys a variety of disease-causing organisms including bacteria, yeast, fungus, spores, and viruses.
Calcium hypochlorite is widely available for use as a swimming pool additive. Using granular calcium hypochlorite to disinfect water is a three-step process.
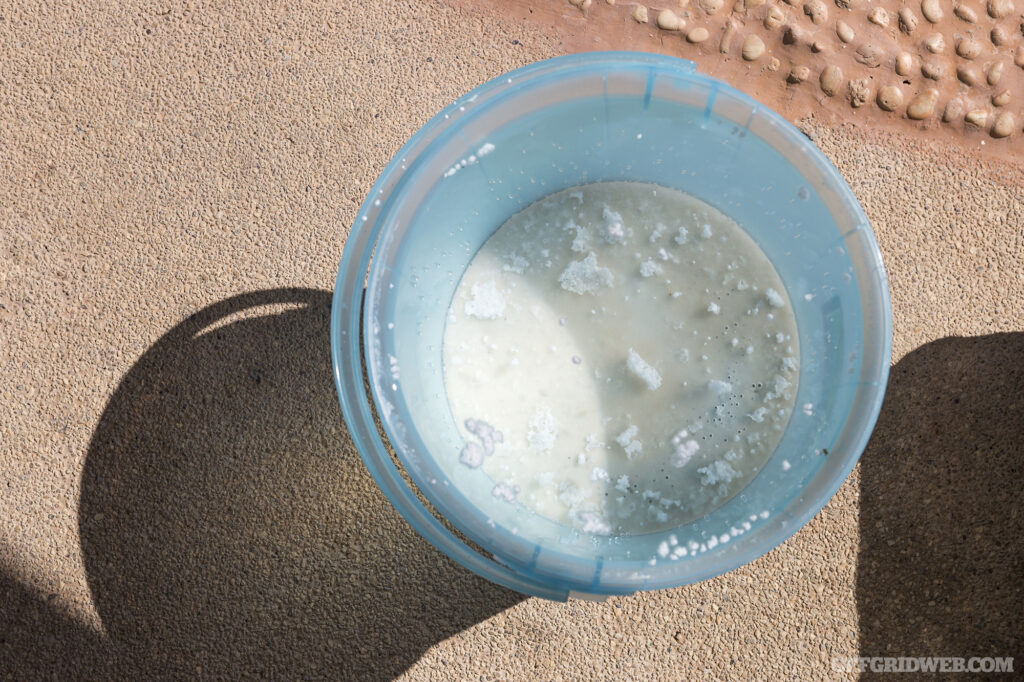
Above: Calcium hypochlorite can be stored as a solid water disinfection method.
In some circumstances, you may have neither fuel for boiling nor chemical agents for disinfection. In this case, you can use the ultraviolet light from the sun. This is known as the solar water disinfection (SODIS) method. Colorless, label-less 2-liter plastic or glass bottles will serve the purpose. Fill the bottle about 90 percent with the questionable but clear water. Then, expose it to full sunlight for six full hours. Cloudy weather takes much longer. If raining, collect the rainwater instead. For the best effect, consider placing the bottle on a reflective metal surface, such as aluminum foil, to increase the bottle’s light exposure. For a simpler way to UV sterilize water, there are commercial UV sterilizers available, such as the Steri-Pen.
It should be noted that water containing toxic chemicals or radioactivity is not made safe with any of the disinfection methods mentioned thus far.
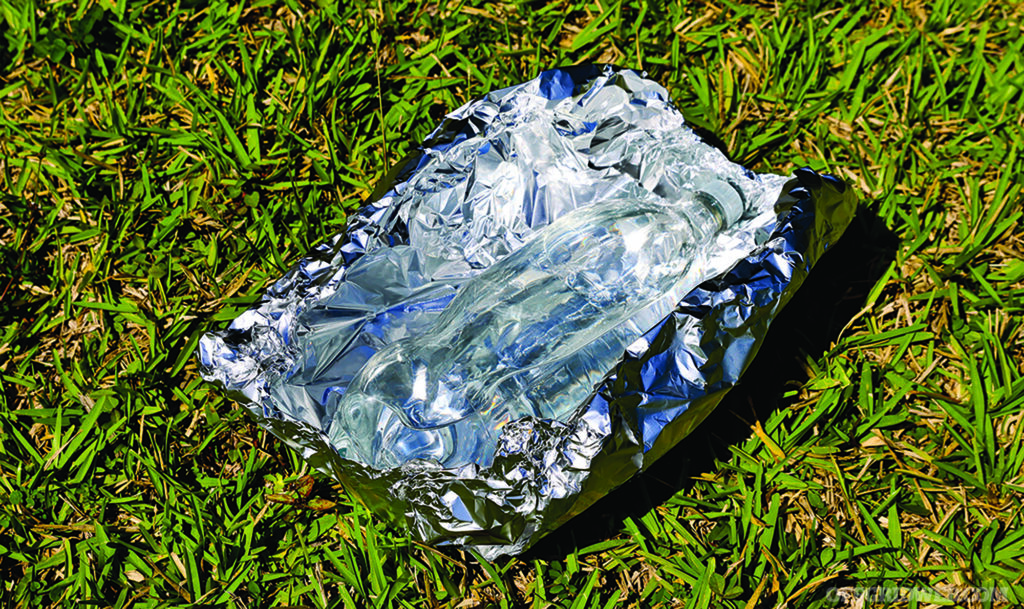
Above: Ultraviolet light from full sun disinfects water in about 6 hours.
Many bacteria, parasites, and viruses thrive in an aquatic environment, including:
Chemicals that have been known to contaminate tap water include:
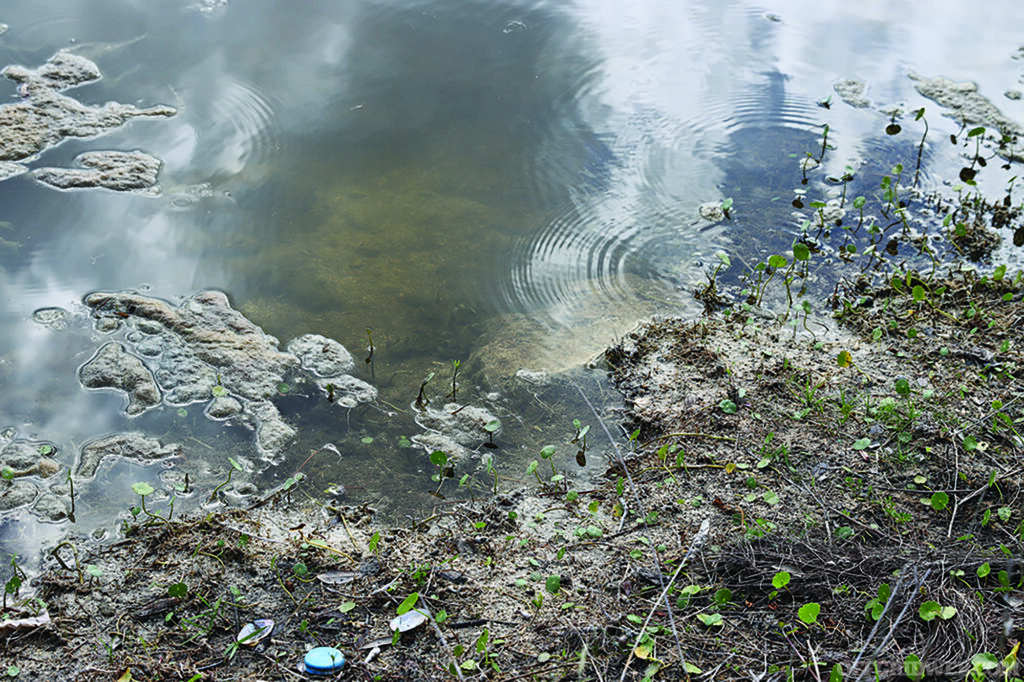
Above: Questionable water sources require disinfection.
You may have methods to disinfect water, but if it’s cloudy or has particulate matter in it, you must filter it first. Commercial filters such as the Lifestraw, Sawyer Mini, or the Berkey are useful and highly effective, but if you don’t have these, some improvisation is required.
Here’s a list of what you’ll need:
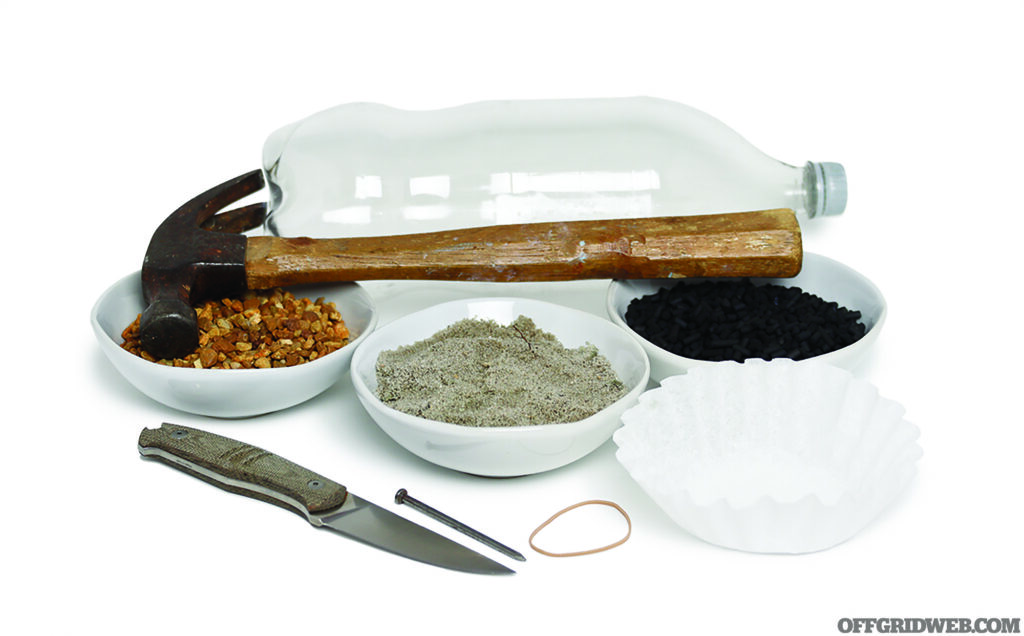
Above: Materials used to improvise a simple filter.
First, use the knife to cut the bottom off the plastic bottle. Take the hammer and nail and punch a hole or two in the cap. If you don’t have a hammer or nail, use the knife to cut an X shape into the bottle cap.
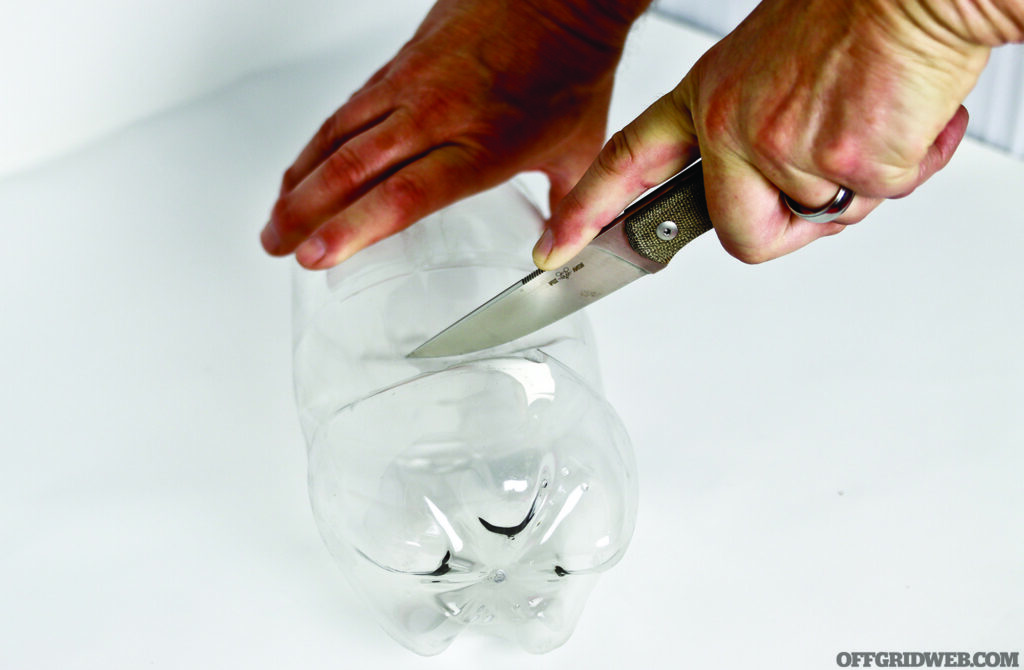
Above: Cut off the bottom third of a clear plastic bottle.
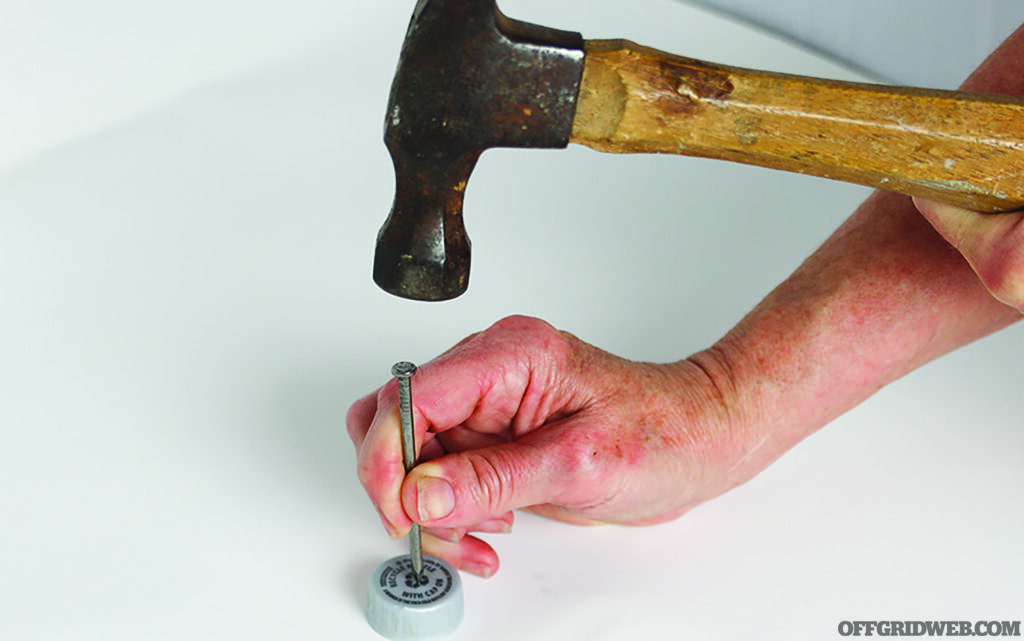
Above: Make one or two holes in the bottle cap.
Cover the mouth of the bottle with the coffee filter and tighten the cap over it. Put the bottle upside-down into the container that’ll collect the water (or use the cutout bottom of the bottle).
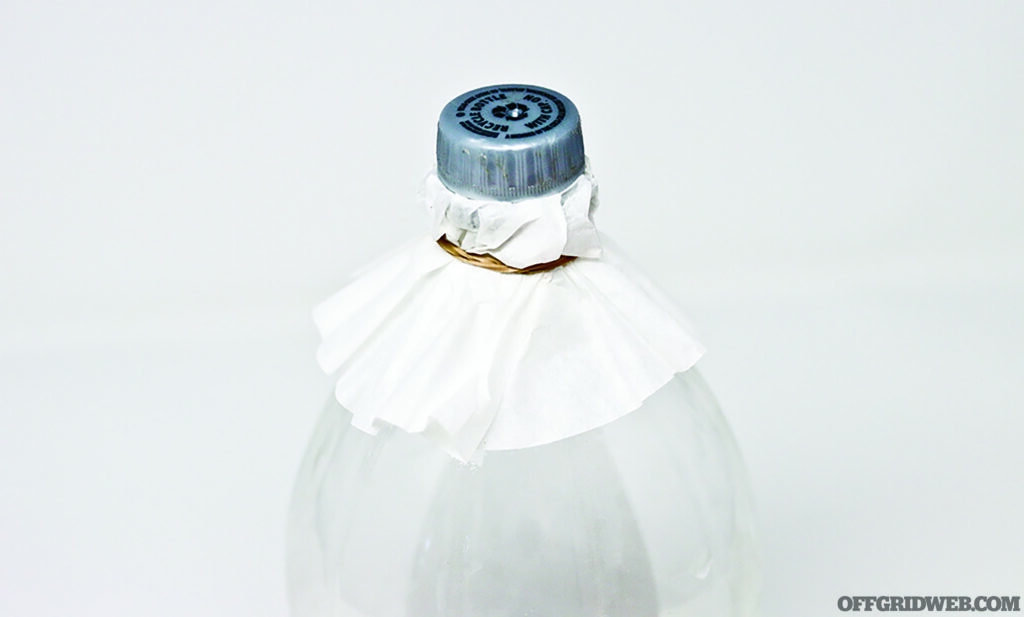
Above: Place the coffee filter or thin cloth between the bottle and the cap.
Now add layers of filtering material. Start by filling the bottom of the bottle with the charcoal. If the charcoal is in large pieces, break it down with the hammer into pea-sized particles.
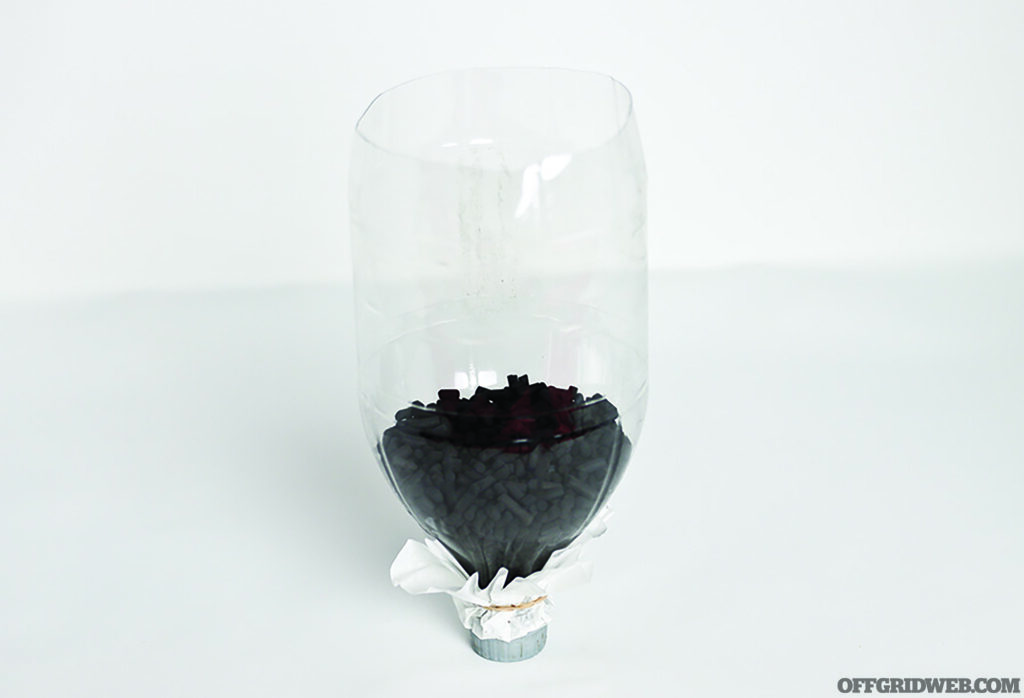
Above: Place a layer of charcoal in the upside-down bottle.
Fill the middle with undyed sand.
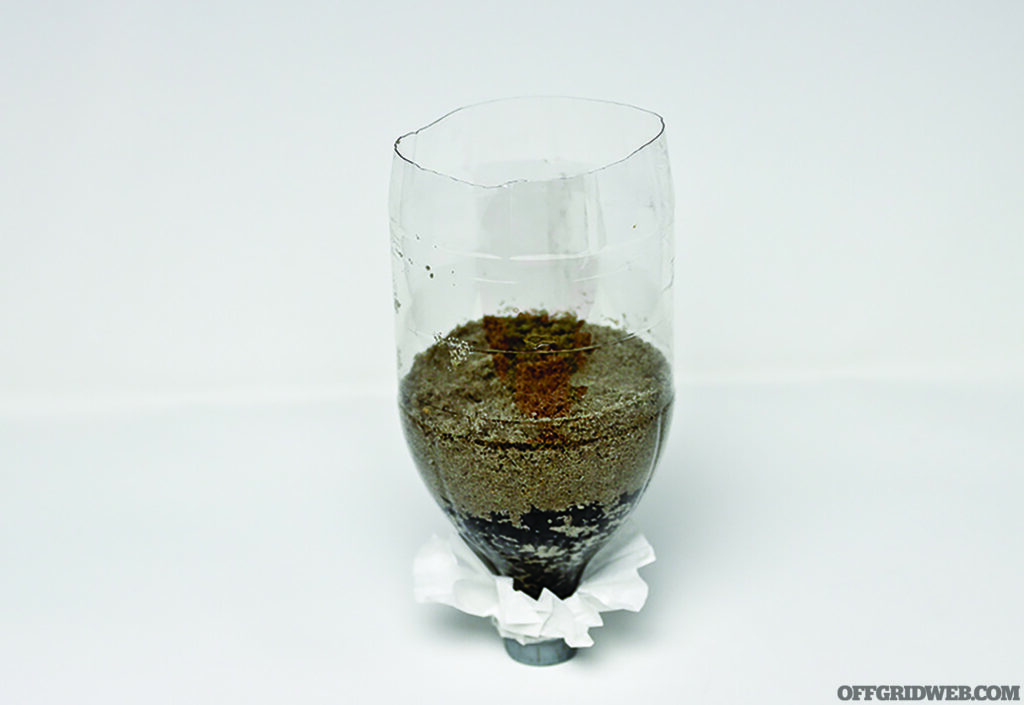
Above: Add a layer of loose sand.
Fill the rest with gravel (layers should be about the same thickness) but leave an inch or so of space at the top to avoid spillage.
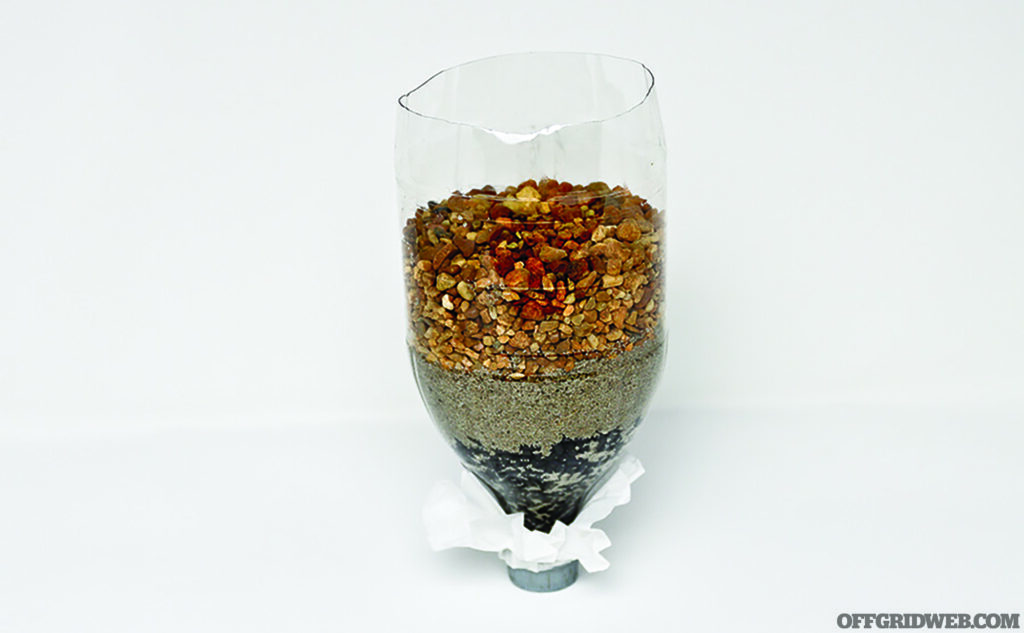
Above: Add a layer of gravel or small rocks.
The gravel layer will catch larger pieces of debris. The sand layer catches smaller particles, such as dirt, and the charcoal layer can reduce levels of bacteria and some chemicals. Be aware that, at the beginning, the charcoal may have some “soot.”
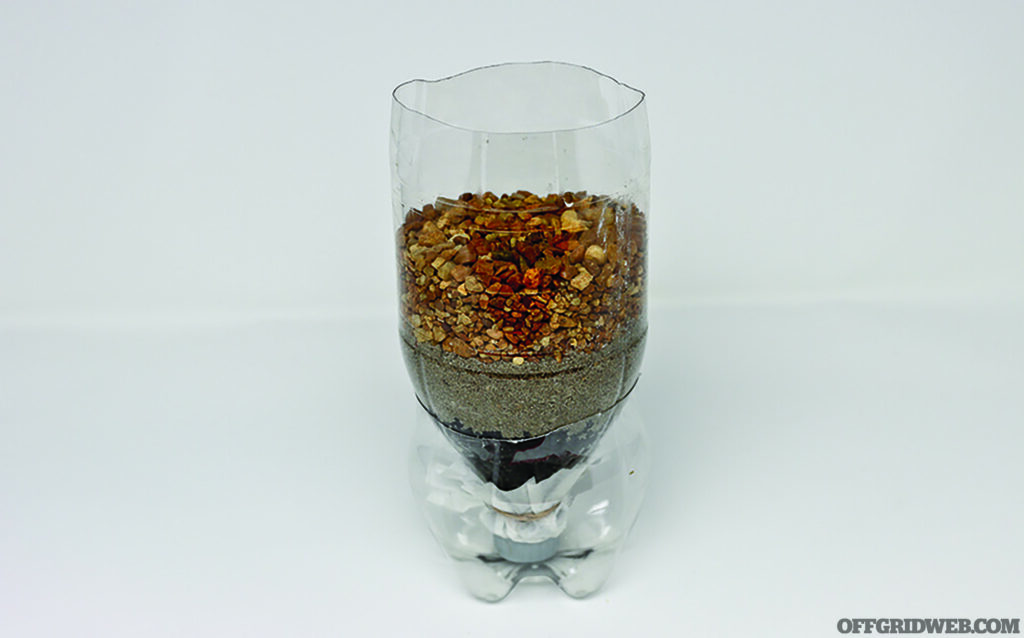
Above: Pour water to be filtered on top, let drain into container at bottom.
Hold your improvised filter over a container. Pour water in slowly and be patient, as the now-filtered water may take some time to flow into the container. If still not clear, put the water through a second time. If it takes too long, use thinner layers. Additional graduated layers may be added as desired.
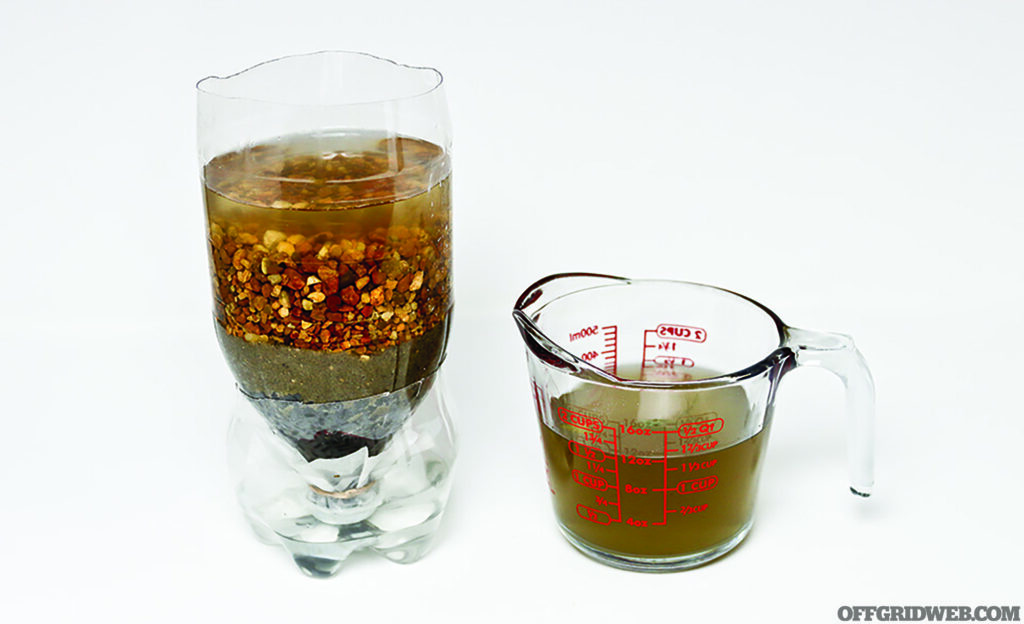
Above: The improvised filter manages to capture most of the murky particulate.
Another method suggests making a filter out of the sapwood of trees like pine. Sapwood contains xylem, which filters out dirt and even bacteria (but not viruses). For this, you’ll begin with a plastic bottle as before. Then:
With this method, it’s important that the xylem remains constantly moist, or you will lose the filtering effect.
While improvised water filters can greatly improve taste and odor as well as reduce levels of contaminants, it’s wise to follow up with a secondary purification method (such as bleach or boiling) whenever possible. Even if your DIY filter eliminates 90 percent of bacteria, the remaining 10 percent might still be enough to make you sick.
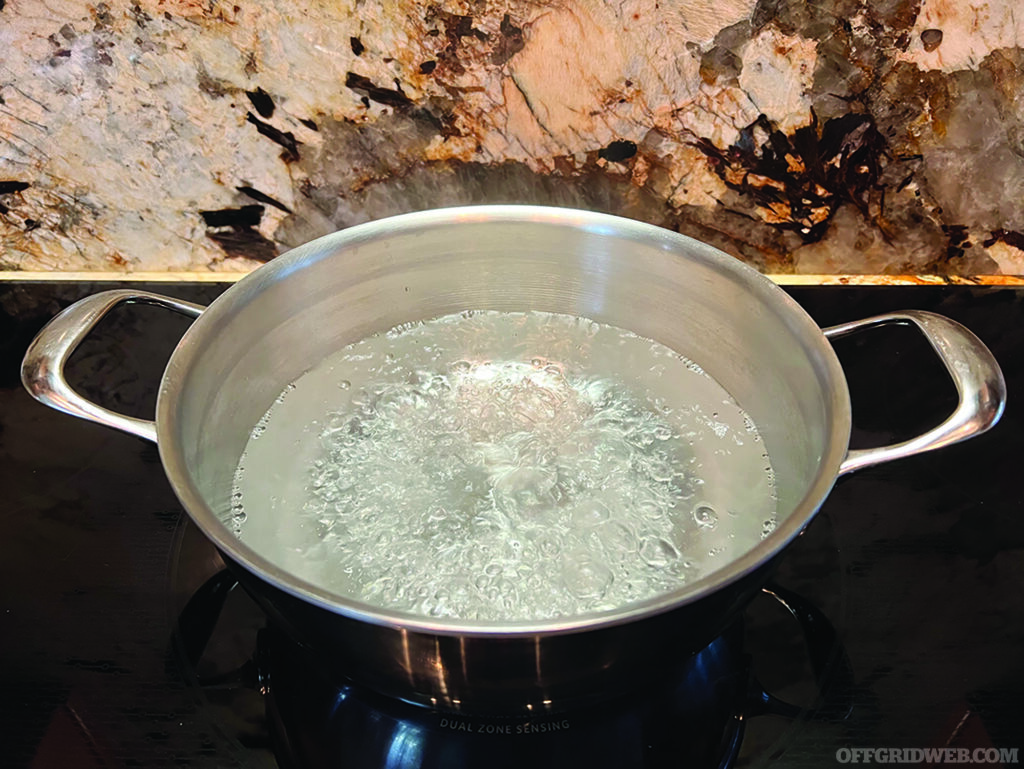
Above: Bring water to a rolling boil to disinfect it.
Once you have a safe water source, you’ll want to store a supply of it. Use food-grade water storage containers; these won’t leach toxic substances into the water they’re holding and can be found at camping supply stores. The container you use should be made of durable materials; in other words, not glass. It should have a narrow opening that makes pouring easy and have a top that can be closed tightly. Avoid containers that previously held toxic chemicals, such as bleach. Write the date on a label and keep them stored in a dark place with a temperature preferably between 50 and 70 degrees F. Replace your water supply every six months or so.
Stored water will often taste “flat.” This occurs because, over time, the water loses oxygen much like soda loses carbonation. To restore the original taste, shake your water in a container for a minute or two before drinking.
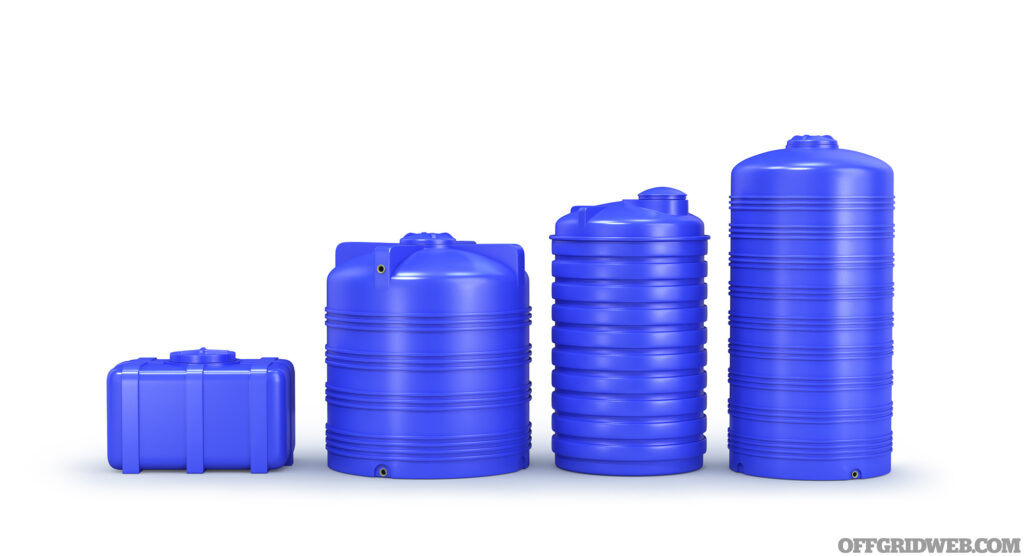
Above: Water storage containers must be food-grade quality.
You’ve heard that it’s dangerous to drink salt water. Among other reasons, this is because:
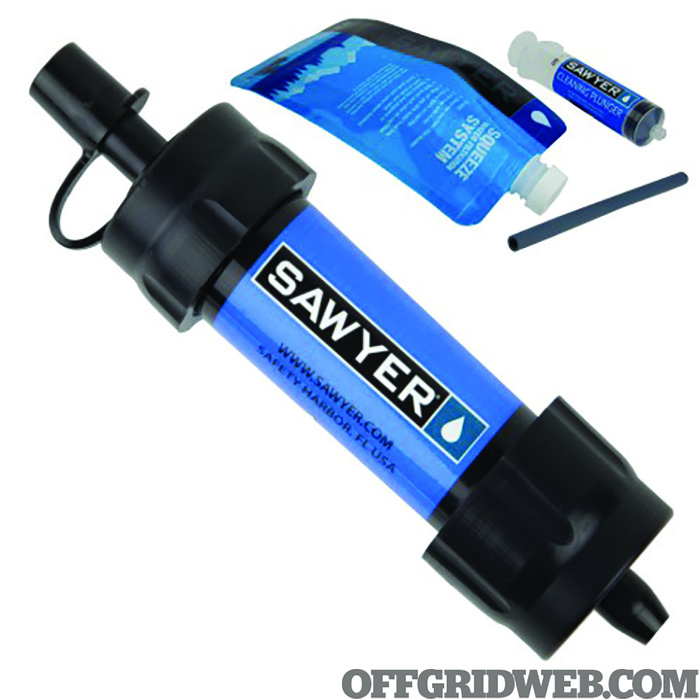
Above: The Lifestraw and Sawyer Mini are compact, lightweight commercial water filters. However, they cannot be used to desalinate seawater.
If your only option is salt water, there are ways to desalinate it. Off the grid, the best method may be distillation by evaporation. When water is evaporated, salt and other particles are separated from it. The distilled water is caught in a container and should be safe to drink. Desalination is most quickly achieved by boiling to trap steam; you can, however, get condensation from seawater with sunlight. You’ll need a pot, a smaller pot, some plastic wrap or sheeting, and one or two weights.
Partly fill the larger pot with sea water and put the smaller pot in the larger pot. Cover the whole thing with plastic wrap and put a weight on the plastic over the center of the smaller pot (but not touching it). Condensation of fresh water will occur on the inside of the plastic sheet, leaving the salt behind. The weight on the plastic will cause fresh water to drip into the smaller pot, which you can drink from. They call this method a “solar still” or “moisture trap.”
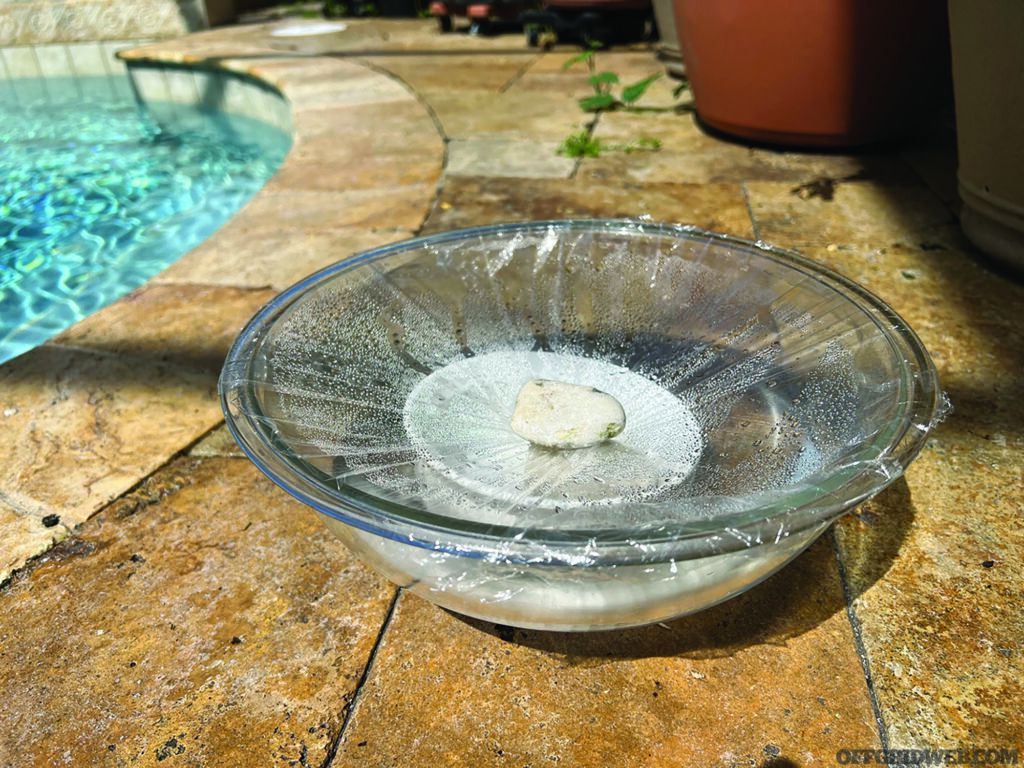
Above: An improvised solar still
Joe Alton, MD, is a physician, medical preparedness advocate, and N.Y. Times-bestselling author of The Survival Medicine Handbook: The Essential Guide For When Help Is Not On The Way, now in its 700-page fourth edition. He’s also an outdoor enthusiast and member of The Wilderness Medical Society. His website at doomandbloom.net has over 1,300 articles, podcasts, and videos on medical preparedness as well as an entire line of quality medical kits designed by the author and packed in the United States.
 STAY SAFE: Download a Free copy of the OFFGRID Outbreak Issue
No Comments